Chester County's historic homes are among the most beautiful in the Philadelphia region — Federal-era…
Tile Repair & Restoration: A Chester County Homeowner’s Guide
A cracked floor tile in the entryway. A loose grout joint in the master shower. A chipped backsplash behind the stove. These are the moments every Chester County homeowner dreads — not because they’re catastrophic, but because they raise a question that’s surprisingly hard to answer: Do I patch it, restore it, or replace the whole thing?
At Milford Mills Tile, we’ve assessed hundreds of tile repair and restoration projects throughout Chester County, Delaware County, and the Main Line. The good news: most tile damage is highly repairable — and a well-executed tile repair can extend the life of your floor or wall tile by decades. This guide walks you through what’s fixable, what to watch for, and when it makes sense to call in a professional.
Common Types of Tile Damage (and What They Signal)
Before deciding on a repair approach, it helps to understand what caused the damage in the first place. Tile problems rarely appear out of nowhere — they’re almost always symptoms of something happening beneath the surface.
Cracked or Chipped Tiles
Individual cracks or chips are the most common tile damage homeowners report. A single cracked tile can result from a heavy object dropped directly on it, a point load stress (like a heavy appliance leg), or substrate movement beneath. If the crack is isolated and the tile is still firmly bonded, it’s typically a straightforward replacement or fill repair. If multiple tiles in the same area are cracking, however, that pattern points to a subfloor issue — deflection, settlement, or moisture damage in the underlayment — that must be addressed before any surface repair will hold.
Hollow or Lippage Tiles
Tap a tile with your knuckle. A hollow “thud” sound instead of a solid knock means the tile has debonded from the substrate — the mortar or adhesive bond has failed. Hollow tiles are a tripping hazard and, in wet areas like showers, a water-intrusion risk. In many cases, a skilled installer can remove the tile cleanly, re-set it with fresh thinset, and grout it back without disturbing surrounding tiles. Early intervention here is key: a hollow tile left unaddressed will eventually crack under foot traffic.
Grout Cracking and Deterioration
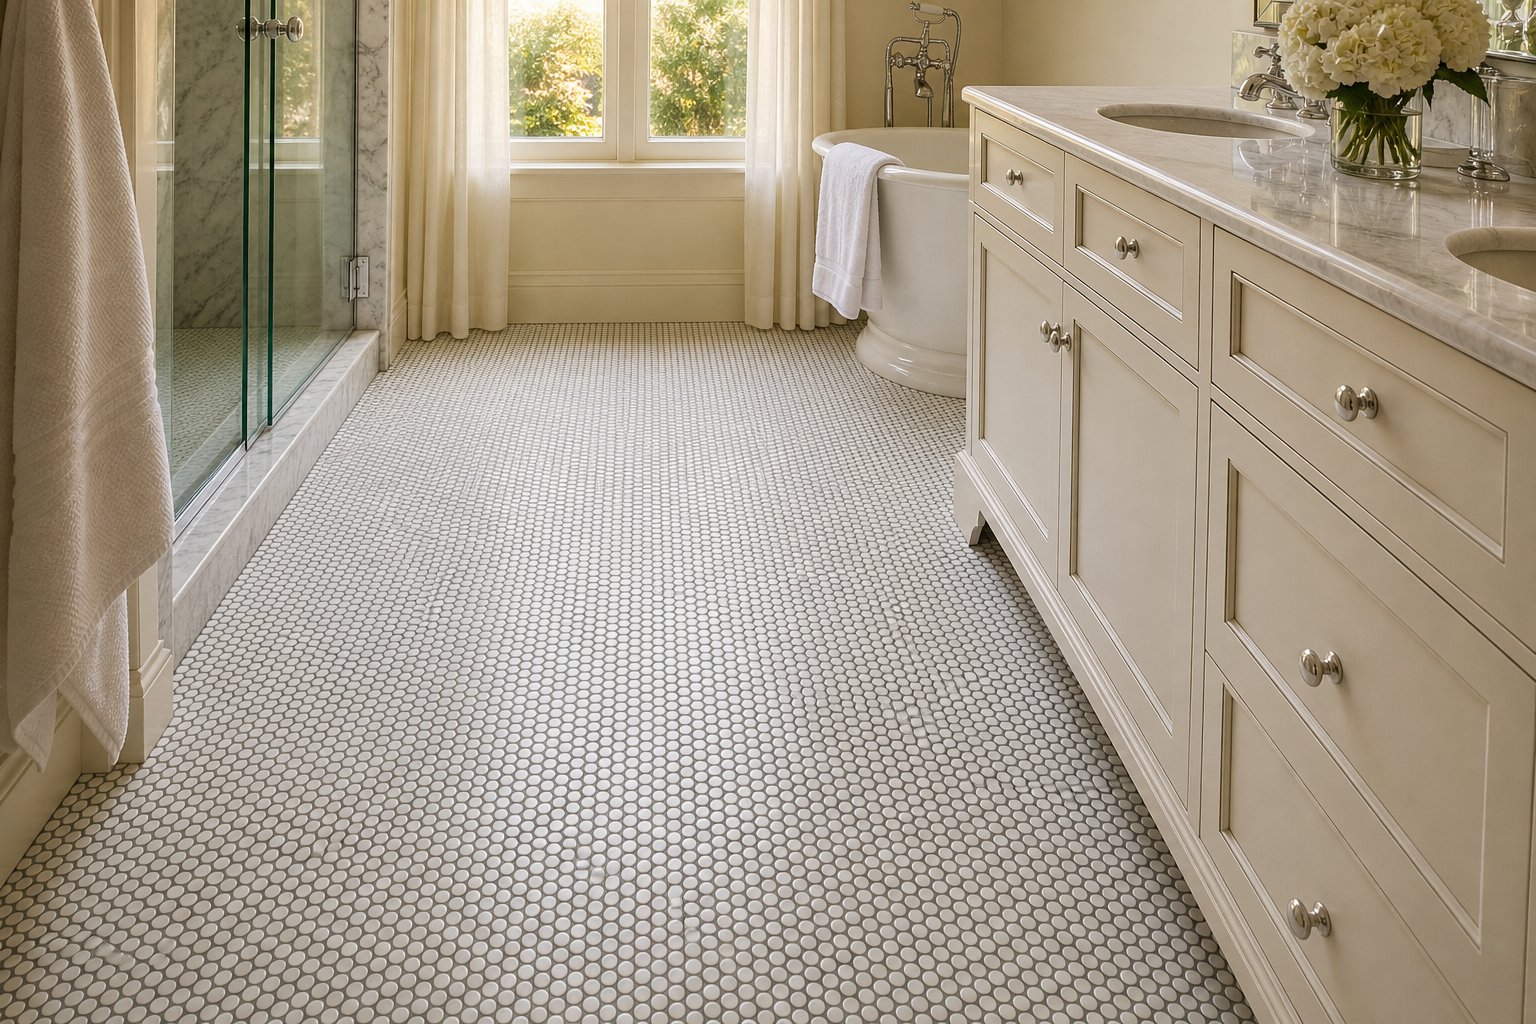
Grout is not tile — it’s a sacrificial material designed to flex slightly and be replaced periodically. Grout cracking along grout lines (rather than through tiles themselves) is often a sign of normal house movement, especially in Chester County’s older Colonial and stone homes that settle seasonally. Cracked grout in a shower is more urgent: it allows moisture to penetrate behind the tile, potentially damaging the waterproofing membrane and framing over time. Regrouting is one of the highest-value, lowest-cost restoration services available — it can make a decade-old bathroom look nearly new.
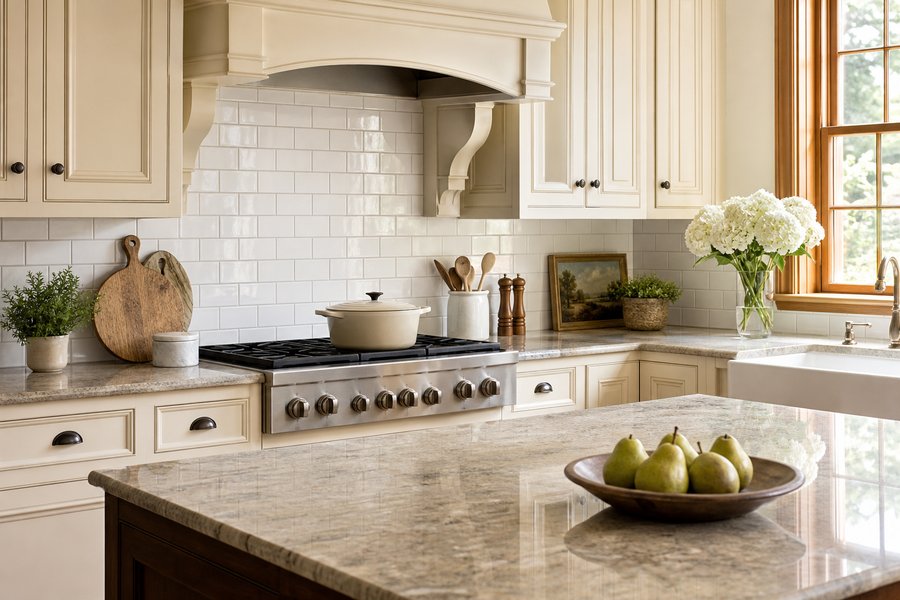
Staining and Discoloration
Certain stains — rust, wine, grease, hard-water mineral deposits — can be removed with the right chemistry. Others, like deep dye penetration into unglazed tile or porous natural stone, may require professional honing or sealing treatments. Grout discoloration is even more common and is usually caused by soap scum, mildew, or years of foot traffic. A professional grout cleaning and sealing service can restore grout color dramatically — and sealing it afterward creates a barrier that dramatically slows future staining.
Efflorescence and Salt Deposits
The chalky white residue that sometimes appears on tile surfaces — especially on exterior tile, in basements, or around pool areas — is called efflorescence. It’s caused by water-soluble salts migrating through the substrate and crystallizing on the surface as water evaporates. Efflorescence is a nuisance but also a warning sign of moisture movement through your substrate. It can be cleaned and managed, but the underlying moisture source should be identified to prevent recurrence.
When Tile Repair Makes Sense vs. Full Replacement
This is the question we’re asked most often during assessments, and the honest answer depends on a few key factors:
- Extent of damage: If fewer than 10–15% of tiles in a field are affected and the substrate is sound, selective repair is almost always the right call economically.
- Tile availability: Replacing individual tiles requires a match — same size, same thickness, same color and texture family. If the tile is a discontinued dye lot, an exact match may be impossible. In these cases, some homeowners choose a creative “feature tile” approach to make the replacement intentional.
- Substrate condition: If the subfloor, cement board, or waterproofing membrane is compromised, repairs to the tile surface alone won’t hold. Full replacement with proper substrate repair is the durable solution.
- Age and condition of surrounding tile: If 80% of a floor is already worn, chipped, or faded and only a handful of tiles are outright broken, full replacement may offer better long-term value than repeated patching.
A professional assessment gives you this clarity. Our team inspects not just the damaged area but the surrounding field and substrate to give you an honest recommendation — not just a quick fix that will need redoing in two years.
The Professional Tile Repair Process
DIY tile repair videos make the process look simple. In practice, there are several steps where amateur attempts create bigger problems than the original damage.
Step 1: Substrate Inspection
Before touching the damaged tile, we assess the substrate — concrete slab, cement board, or wood subfloor — for moisture, deflection, or structural issues. If the substrate is compromised, it must be addressed first. Skipping this step is the most common reason tile repairs fail within a year.
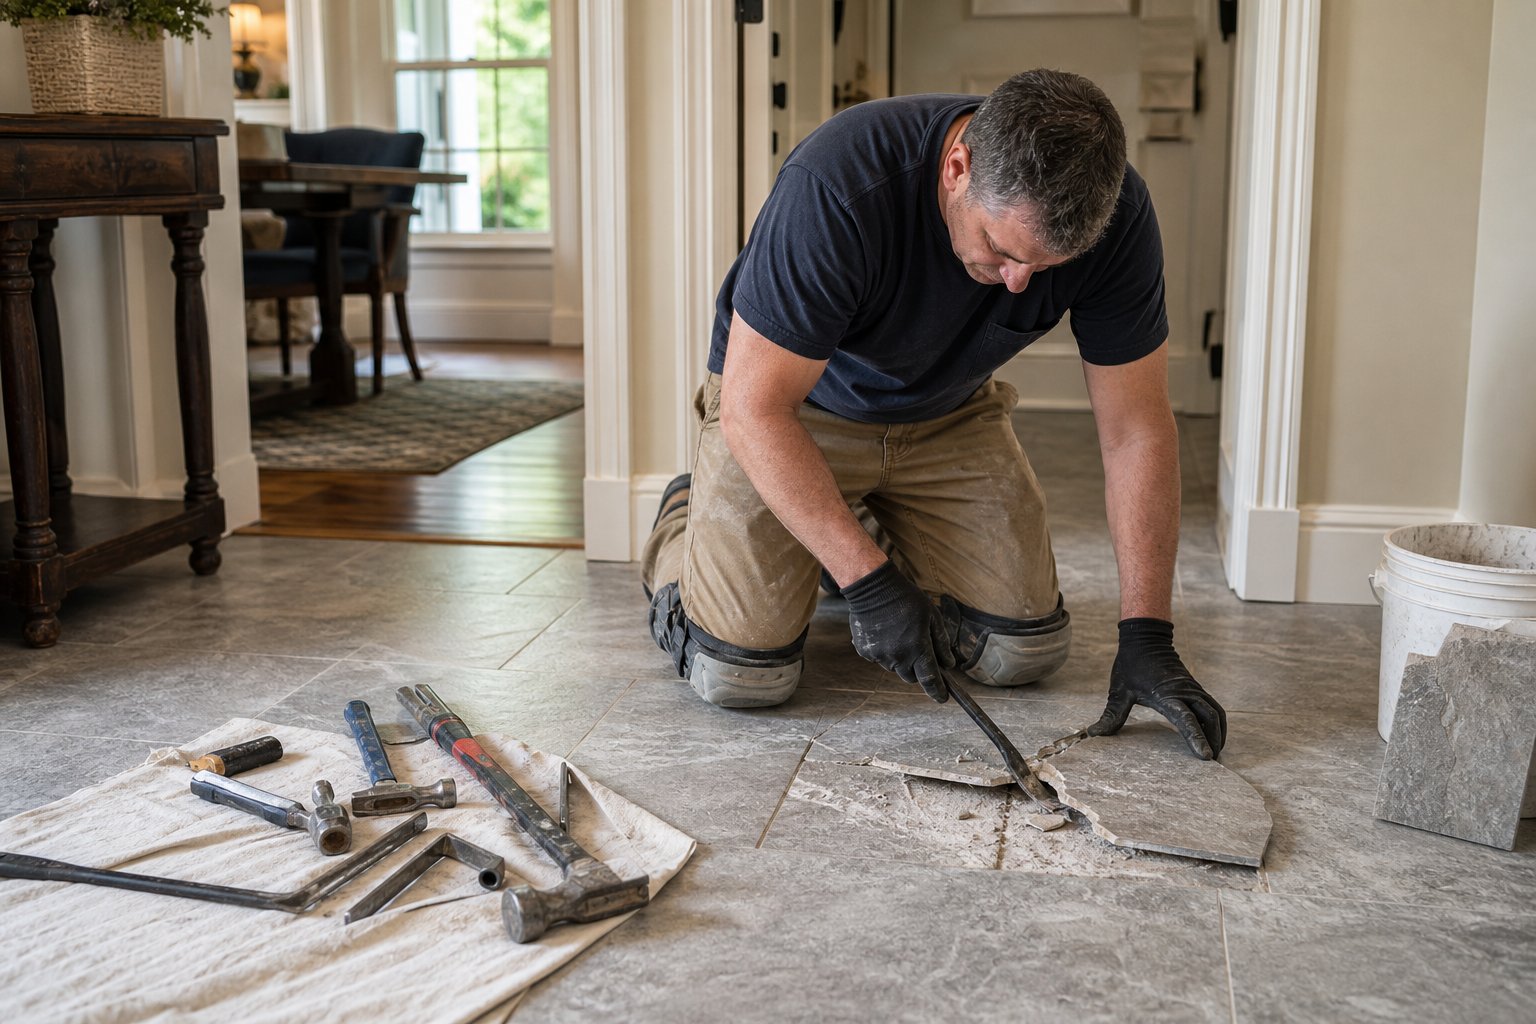
Step 2: Safe Tile Removal
Removing a damaged tile without cracking the adjacent tiles is a skill. We score the grout lines, use an oscillating multi-tool to cut the adhesive bond, and carefully pry the tile free. Rushing this step — especially in older installations with thin-set mortar — often damages the surrounding tiles and dramatically increases the repair scope.
Step 3: Substrate Repair and Priming
Once the tile is removed, we clean the substrate, patch any voids or cracks in the setting bed, and apply primer if needed for the new adhesive to bond correctly. On wood subfloor installations, we also check for any soft spots or deflection that contributed to the original failure.
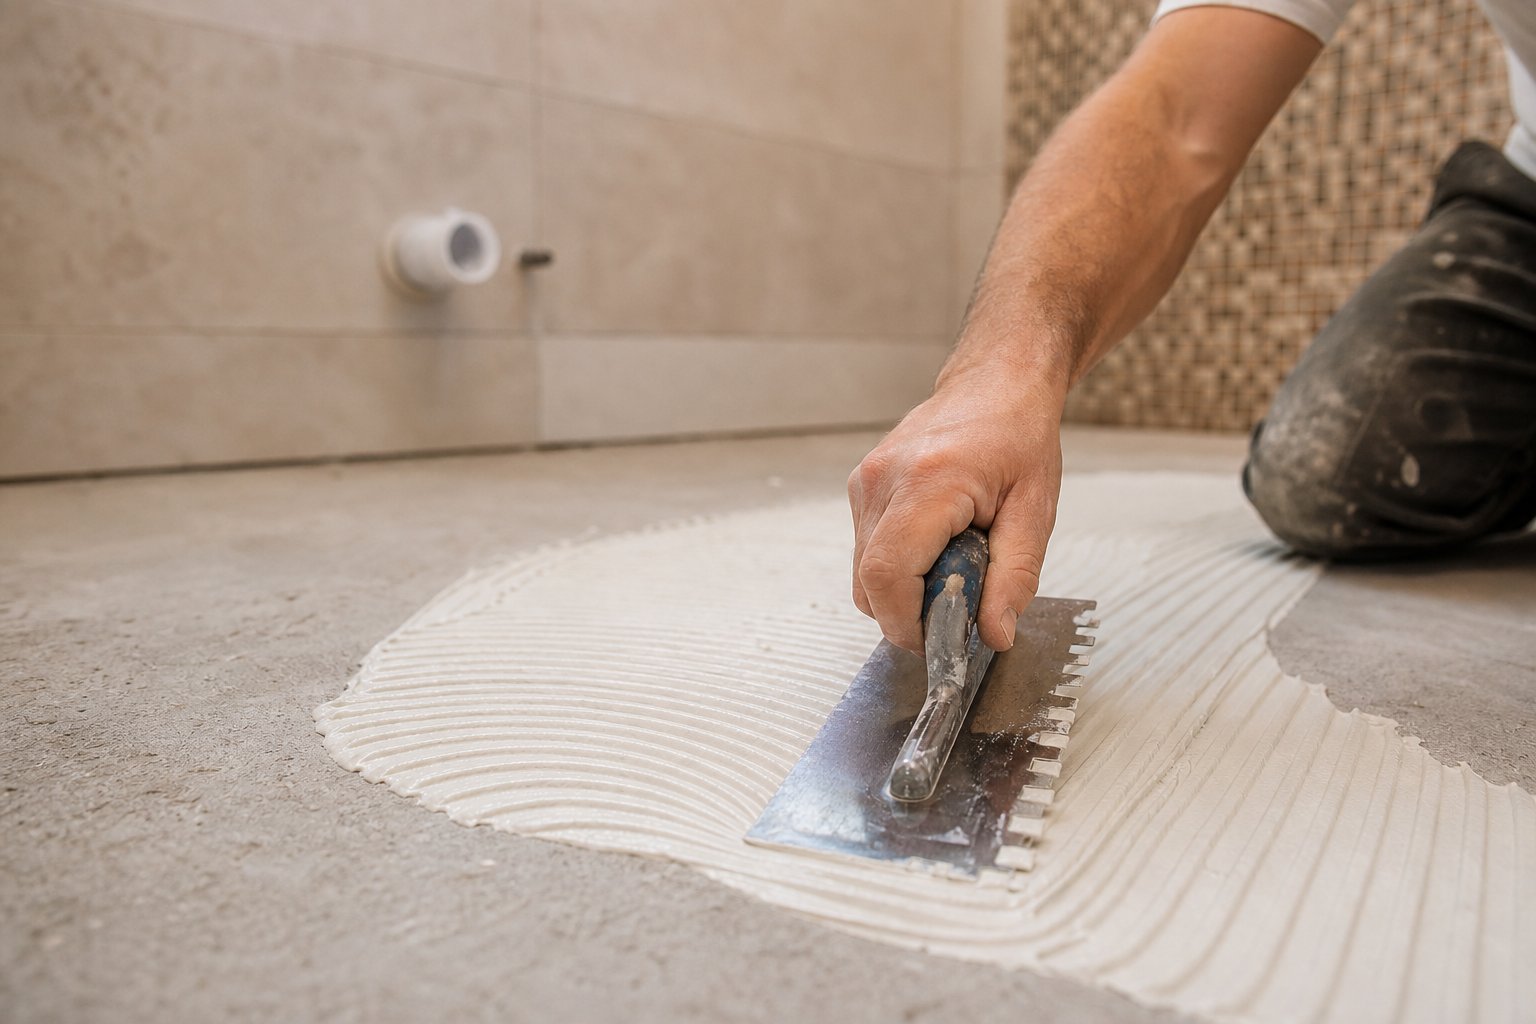
Step 4: Setting the New Tile
We use the appropriate thinset mortar for the tile material and location — different formulas for porcelain vs. natural stone, dry areas vs. wet areas. The tile is back-buttered, set with consistent lippage to the surrounding field, and allowed to cure fully before grouting. Rushing the cure time is another common DIY mistake that leads to hollow tiles within months.
Step 5: Grout Color Matching
Grout matching is an art. Existing grout darkens over time, which means new grout installed in repair areas often reads lighter than the surrounding field — at least initially. We test grout samples and apply grout colorant or sealer as needed to minimize visible contrast. For large-scale grout restoration projects, regrouting the entire field produces a more uniform result.
Tile Restoration: Bringing Worn Tile Back to Life
Sometimes the tile itself isn’t broken — it’s just showing its age. Deep cleaning, honing, polishing, and sealing can restore both porcelain and natural stone tile to something approaching their original appearance. For Chester County homeowners with original slate, marble, or travertine floors in historic homes, professional stone restoration is often far more cost-effective than replacement — and preserves the authentic material character of the space.
Services in this category include:
- Professional deep cleaning — removing years of buildup from grout and tile surfaces using appropriate pH-neutral cleaners
- Grout color restoration — cleaning, then applying a grout colorant or sealer to unify discolored grout lines
- Stone honing and polishing — grinding down scratches and etch marks in marble, limestone, or travertine to restore a smooth, even finish
- Sealing — applying penetrating or topical sealer to porous tile and grout to resist future staining and moisture penetration
- Caulk replacement — replacing failed or mildewed caulk at tile-to-fixture transitions (tub surrounds, shower pans, countertop edges) — one of the most overlooked but impactful maintenance services
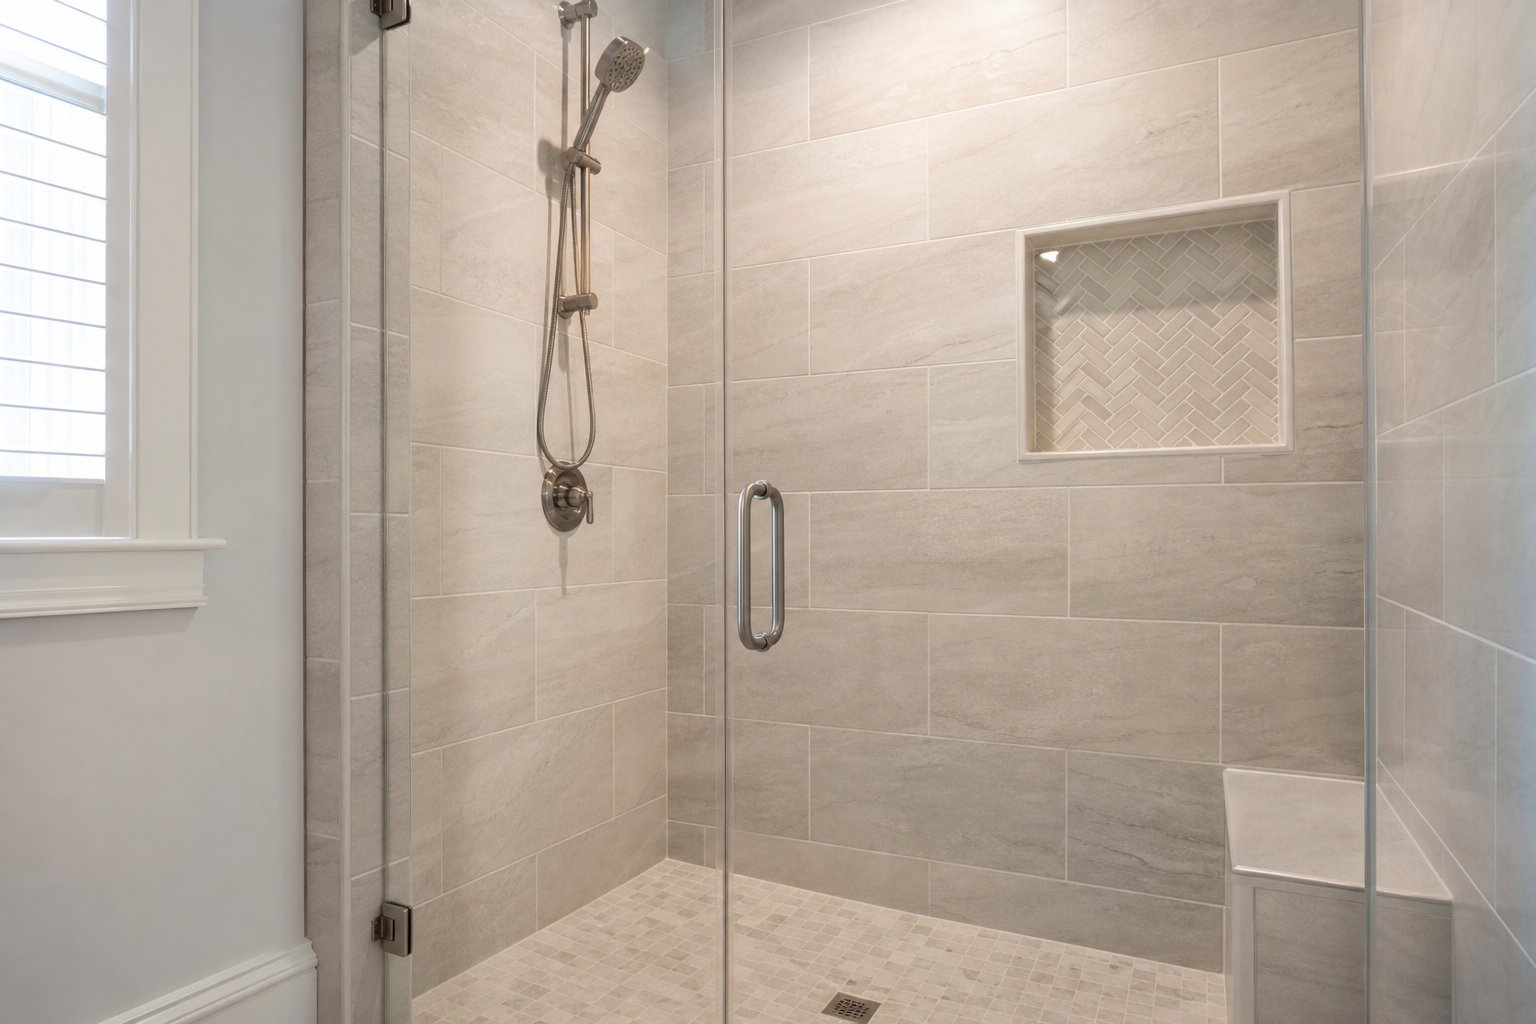
Shower Tile Repair: A Special Case
Shower tile repairs deserve extra attention because the stakes are higher. A failed tile in a dry entryway is a cosmetic problem. A failed tile in a shower is a potential moisture intrusion problem — and moisture behind shower walls damages framing, promotes mold growth, and can cost tens of thousands of dollars to remediate if left long enough.
Warning signs that your shower needs professional assessment:
- Cracked or missing grout in the lower third of shower walls
- Soft or “spongy” feel in the floor near the drain
- Tiles that move or flex when pressed
- Water staining on the ceiling below a second-floor shower
- Mildew that returns shortly after cleaning (sign of moisture behind the surface)
In these cases, we often recommend removing and inspecting the affected tiles before committing to a repair plan. Sometimes what looks like a surface issue reveals failed waterproofing that requires a more comprehensive fix — but catching it early keeps the repair scope manageable and prevents far more expensive structural damage. Learn more about what goes into a professional bathroom tile installation to understand the waterproofing systems that keep showers dry long-term.
How Long Does Tile Repair Last?
A properly executed tile repair — with correct substrate prep, appropriate materials, and proper cure time — should last as long as the original installation. We routinely see repairs that look and perform indistinguishably from the surrounding tile years after the work was done. Repairs that fail prematurely almost always have one of three root causes: skipped substrate prep, wrong adhesive for the application, or insufficient cure time before the area was returned to use.
For grout restoration specifically: a professional regrout with sealing applied afterward can extend the maintenance-free life of your grout by 5–10 years depending on the traffic and moisture exposure in the space.
Planning a Repair or Restoration Project
If you’re noticing tile damage — cracked tiles, hollow sounds underfoot, failing grout in the shower, or discolored stone floors — the most productive first step is a professional assessment. Many repairs we diagnose are smaller and less expensive than homeowners expected; others reveal underlying issues that are worth addressing while the scope is still limited.
We serve Chester County, Delaware County, Montgomery County, and the surrounding Main Line communities. Browse our project gallery to see tile repair and restoration work alongside full installations, and visit our areas we serve page to confirm we cover your location.
Ready to restore your tile?
Whether you have a single cracked tile or an entire floor in need of restoration, Milford Mills Tile brings the same craftsmanship to repair work that we bring to full installations. Contact us to schedule an assessment — we’ll give you an honest evaluation and a clear plan for getting your tile looking its best again.
Whether you have a single cracked tile or an entire floor in need of restoration, Milford Mills Tile brings the same craftsmanship to repair work that we bring to full installations. Contact us to schedule an assessment — we’ll give you an honest evaluation and a clear plan for getting your tile looking its best again.
Related Posts